Desertcart purchases this item on your behalf and handles shipping, customs, and support to Nicaragua.
🛏️ Transform your space, build your dream—DIY style with zero compromises!
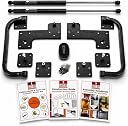
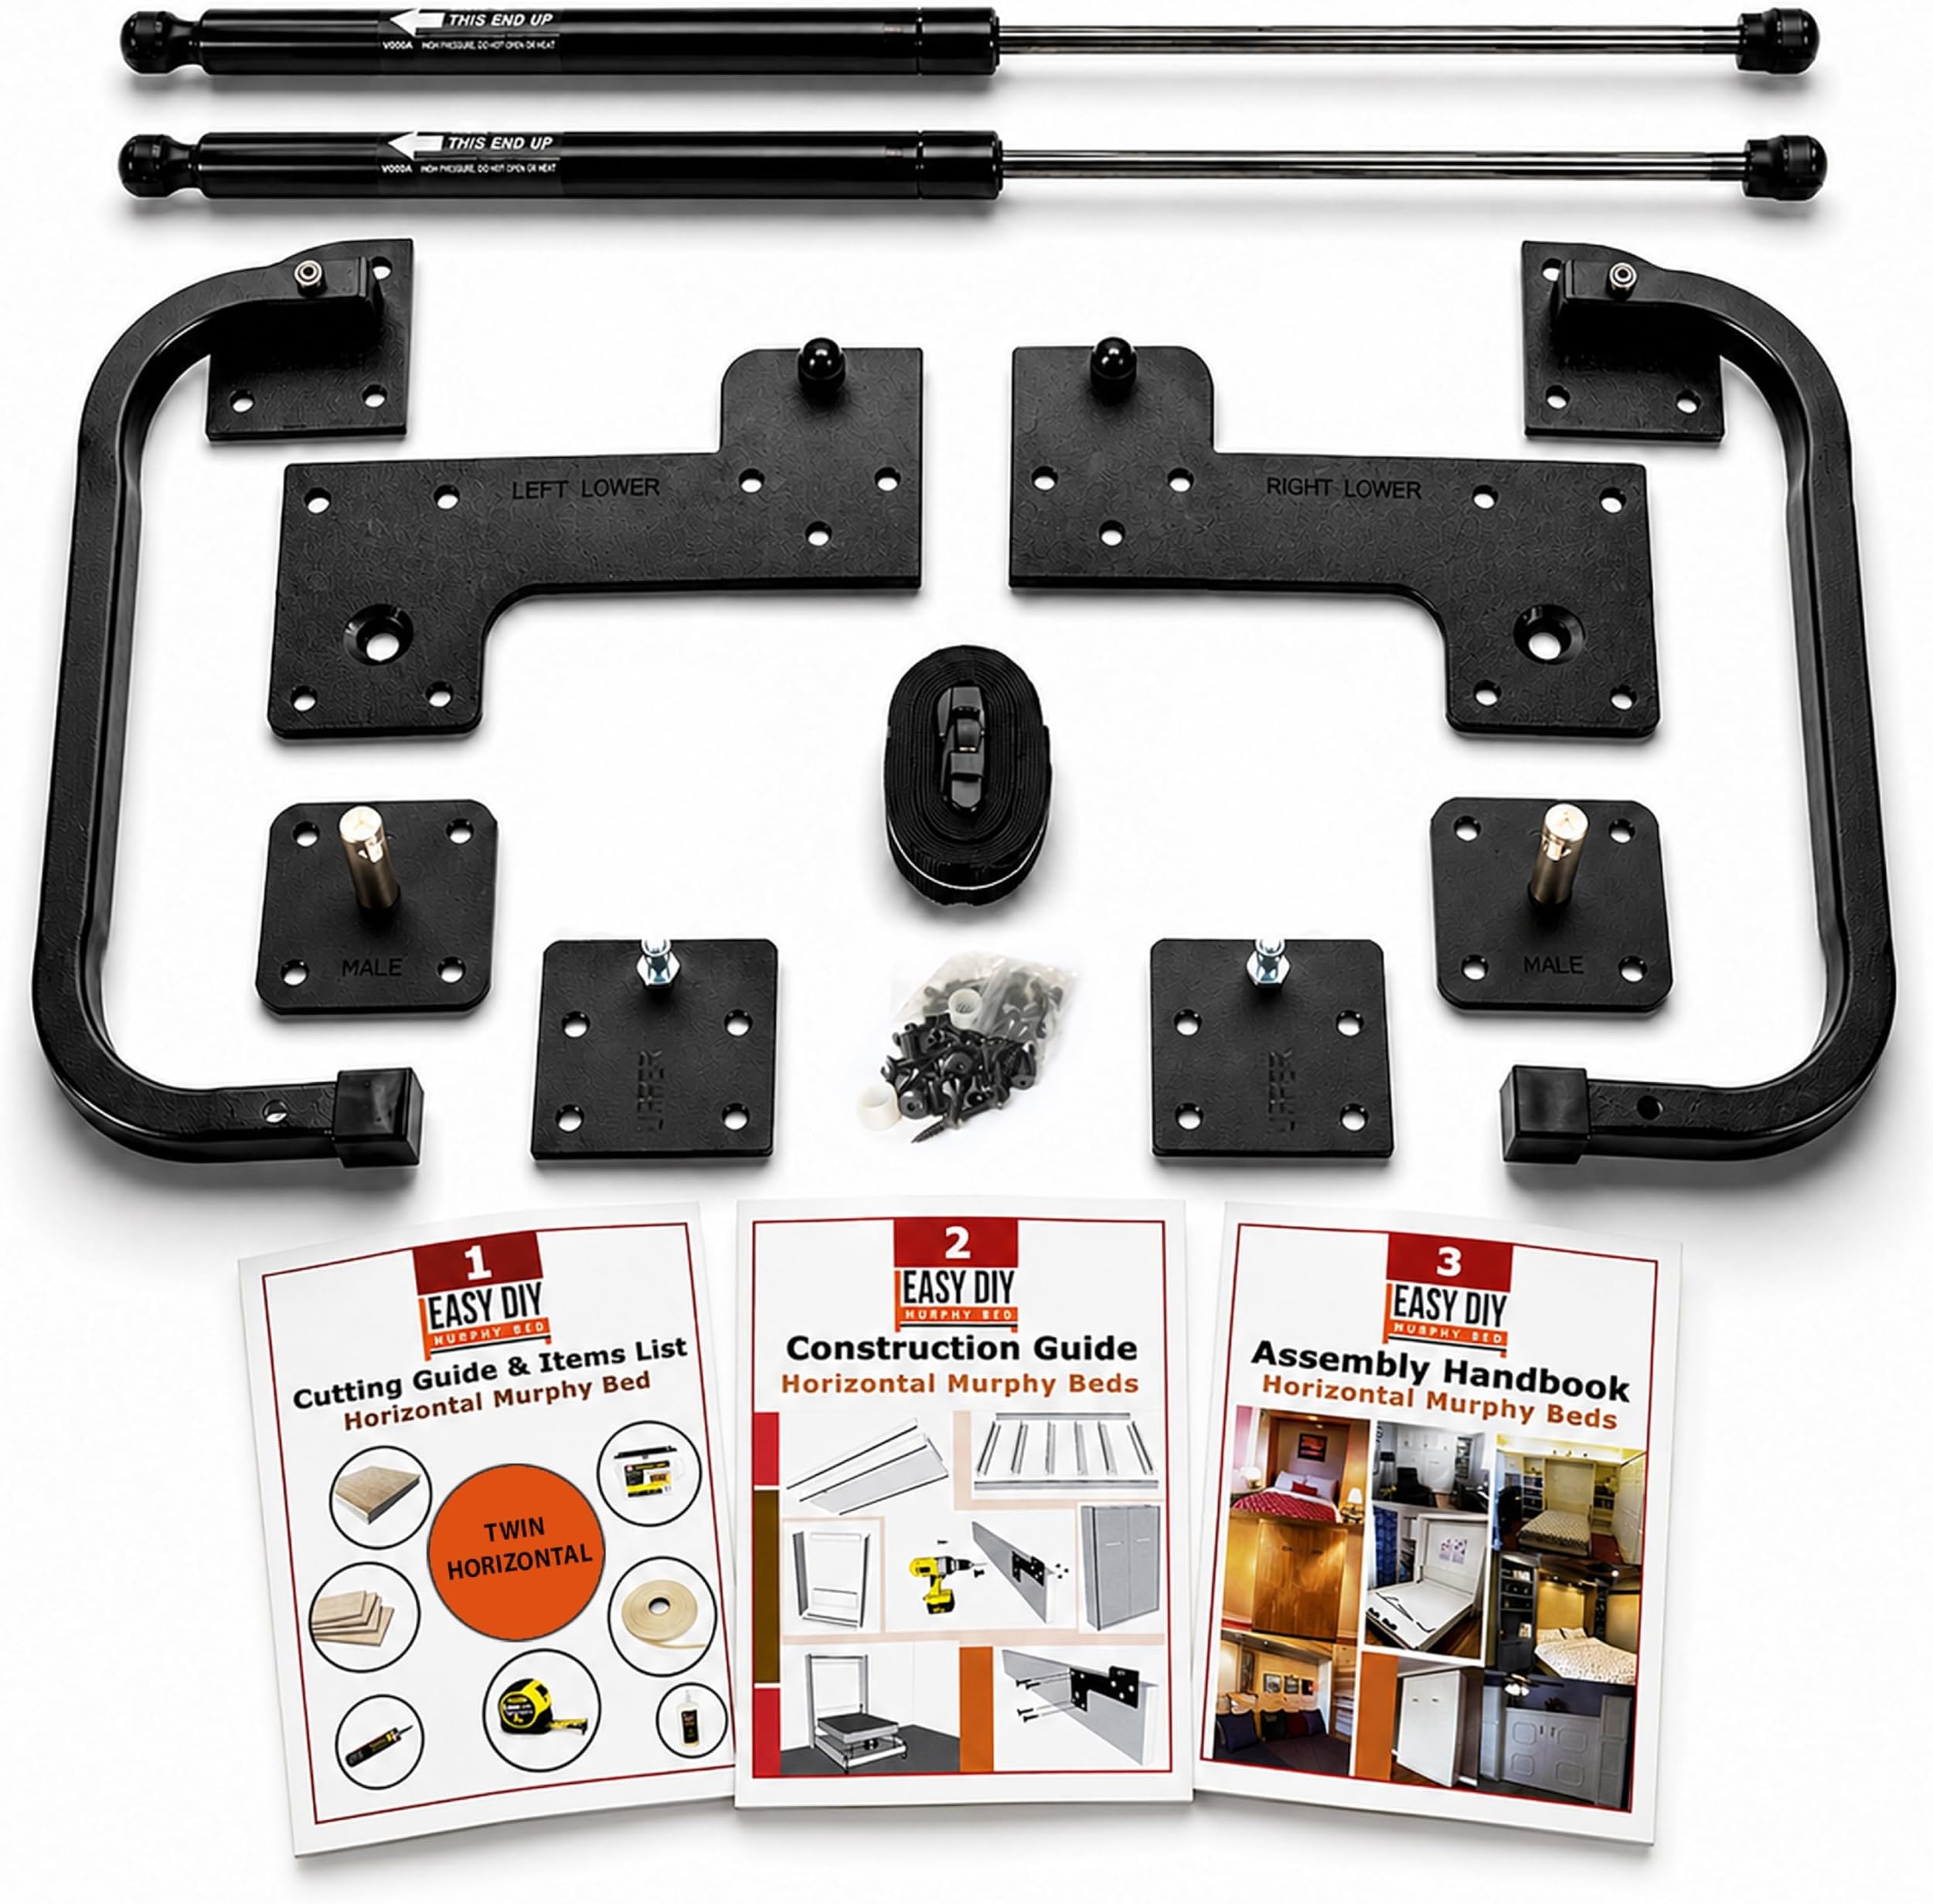
This Twin Size Horizontal Murphy Bed Hardware Kit offers a complete, high-quality DIY solution to create a sleek, space-saving wall bed. Featuring a heavy-duty gas piston lift system, patented auto-locking stainless steel pivot plates, and a folding leg system, it supports over 700 lbs and is engineered for daily use. The kit includes all necessary hardware, fasteners, and three comprehensive illustrated guidebooks plus 24/7 video tutorials, ensuring a smooth build experience. Manufactured in North America and backed by a lifetime warranty with dedicated U.S.-based support, this kit delivers premium durability and convenience at a fraction of the cost of pre-built units.


| ASIN | B00WCAOKRK |
| Assembly Instructions Description | Included: Three illustrated guidebooks and 24/7 online video tutorials |
| Best Sellers Rank | #136,996 in Home & Kitchen ( See Top 100 in Home & Kitchen ) #82 in Beds |
| Brand Name | Easy DIY Murphy Bed |
| Color | Black |
| Compatible With Mattress Size | Twin |
| Customer Reviews | 4.6 out of 5 stars 1,614 Reviews |
| Finish Types | Powder Coated |
| Form Factor | Murphy Bed |
| Furniture Finish | Customizable |
| Ground To Item Distance | 6.5 inches |
| Included Components | Screws and fasteners |
| Item Depth | 16.0 inches |
| Item Dimensions | 46 x 81.38 x 46.88 inches |
| Item Dimensions L x W x H | 46"L x 81.38"W x 46.88"H |
| Item Weight | 11 pounds |
| Manufacturer | Easy DIY Murphy Bed |
| Manufacturer Part Number | Terin3975 |
| Manufacturer Warranty Description | Lifetime. |
| Material | Metal |
| Material Type | Metal |
| Maximum Weight Recommendation | 700 pounds |
| Model Number | Terin3975 |
| Number of Items | 13 |
| Other Special Features of the Product | Fluted Panel Detailing, Foldable, Heavy-Duty Gas Piston Lift System, Lifetime Hardware Warranty, Space-Saving Hideaway Wall Bed Design |
| Product Care Instructions | Wipe with Damp Cloth |
| Product Dimensions | 46"L x 81.38"W x 46.88"H |
| Shape | Rectangular |
| Size | Twin - Horizontal |
| Special Feature | Fluted Panel Detailing, Foldable, Heavy-Duty Gas Piston Lift System, Lifetime Hardware Warranty, Space-Saving Hideaway Wall Bed Design Special Feature Fluted Panel Detailing, Foldable, Heavy-Duty Gas Piston Lift System, Lifetime Hardware Warranty, Space-Saving Hideaway Wall Bed Design See more |
| Style | Contemporary |
| Style Name | Contemporary |
| Target Audience | Homeowners or renters with basic woodworking skills looking for a space-saving bed solution. |
| Unit Count | 1 Count |
W**Y
Quality hardware/Excellent instructions
This is a quality product. The pistons, legs and brackets are solid. The hardware functioned properly on the first try. Parts are clearly labeled. The parts list and cut list are precise. Thanks for designing this for beginners. These are the most thorough instructions I've ever used. When combined with the multiple videos on the web page, they provide a clear path to completion. Pay particular attention to the warnings. If the instructions or videos warn against skipping a step or recommend a helper, follow their instruction. Lessons learned construction phase. If you don't have a large work surface, at least 4' X 8', I recommend some simple saw horses and 2 X 4s. It will speed up your work on the bed frame. Double and triple check your cut dimensions. If you're not using a table saw, you must use a quality rip guide for your circular saw to keep the big pieces square. Any rip cut on the cabinet that is off will show up during final assembly. I made a small error and it created a gap on the upper left cabinet. Because many of the edges are visible, a new saw blade for your circular saw, miter saw, or table saw is a good idea. Errors compound and there isn't much tolerance. When drilling holes for the hardware, attempt to keep the walls of the hole perpendicular to the surface for good seating. Always use a backer board when drilling through. Birch plywood splinters and chips without a backer. If you're using Baltic Birch or any 3/4" plywood do not scrimp on edge banding material or the trimmer. Buy a quality product with good adhesion. Sand all your edges before banding. It's much easier to do this big work in a garage away from the room if possible. Lessons learned assembly phase. Clear out the entire room. I attempted to work around a desk and added time to the project. It's very easy to get mixed up on header and footer when gluing the bed frame to the cabinet. Triple check which side gets the 3/4" gap. This was a major error I made that almost derailed a bunch of work. I was able to flip everything (luckily) and keep moving. The instructions recommend drawing a line on the cabinet to outline the 1/2" side gap and the 3/4" gap on the footer. This is the only deviation I made. After messing this up, I brad nailed 1/2" and 3/4" leftover plywood strips to the cabinet. This forced the bed frame to fit properly and will immediately show you if your cut dimensions were wrong. The construction glue they recommend is unforgiving. You will not easily remove any pieces of the bed frame from the cabinet without damaging the product. When installing pistons, you may have to really move the cabinet back and forth to get them to seat. Your partner needs some strength to help do this. The shim step during anchoring is critical! Buy a quality stud finder for the 5/16" anchor bolts. You need to know where center is. I'm an amateur woodworker with decent skills and this project was physically hard. I'm also a bit older. There is quite a bit of lifting, twisting, cutting, moving and assembling that requires physical strength. Part of this was moving parts from a separate garage on the fourth floor to a first floor condo. The construction phase took about 20 hours and the assembly phase 15 hours. Another individual painted and took about 6 hours. Buying lumber etc. was another couple hours. Home Depot delivered so this helped. Definitely not easy but a great value for experienced DIY folks.
G**R
Excellent product!
I’ve nothing but praise for this product and would recommend it to anyone. The fully detailed and accurate materials purchase and cut list which was provided, plus the assembly instructions in both pamphlet and video forms, made the whole process straightforward and easy. I chose DIY Murphy Bed Hardware Kit after hours of research, primarily because of the simplicity and ease of installing the bed lifting and lowering hardware. YouTube videos demonstrated that many brands have hardware designs that are very challenging to install. I was delighted to find that when I came to that step in the process, connecting the hardware was effortless. Their customer service was easy to reach and very responsive and ready to help in any way. I’m quite pleased with the look of the bed cabinet and the ease of lifting and lowering my queen size bed. The purchase price may seem a little high to some, but the added value of the hardware design, materials purchase list, the very detailed cut list, the assembly instructions in both video and pamphlet forms, and the easy to engage customer service, makes DIY Murphy Bed worth every penny.
A**O
Are you ready?
I’m going to rate this product in three parts. READ GENERAL EXPERIENCE BEFORE YOU BUY 1) Hardware 2) Instructions 3) General Experience HARDWARE The hardware that comes in this kit is solid. The lift pistons, pivot plates, screws, etc are solid. They are high quality, and I have no doubt in my mind that will last for hundreds if not thousands of cycles. I am a little skeptical on the plastic washers and spacers, but only time will tell. They are painted in black and have nice weight to it. 5/5 INSTRUCTIONS The instructions are extremely clear. It comes with 3 booklets. First booklet is what cuts to make, second is instructions to assemble different pieces, and third is final mounting. The dimensions are exact, the instructions are very clear, and overall everything is well written. There are areas for improvements, but they’re so minor that I can’t deduct points from. GENERAL EXPERIENCE This is something you have to be honest with yourself. Will you persist when things get tough? Are you handy that you’re not scare to use a saw, drill, stud finders, etc? The instructions cite that home depot will do the cuts, but realistically they probably won’t. I used a table saw and circular saw to do all the cuts and it took longer than I wanted. As expected my garage was dusty until I did a deep clean. I sanded everything, primed, sand again, and painted to get a nice finish. It probably took about 30-40 hours for 2 people to build 2 Murphy beds. We enjoy the work and we are very handy. It was exhausting. If you don’t see yourself committing, buy a prebuilt they will be worth every penny. If you’re excited for the adventure go for it. It’s not entirely an easy process, beware. Overall, I loved it. The beds look great. Got to spend sometime with everyone involved. Painted the beds just how I wanted them. Everything came out to my liking (or at least I couldn’t blame anyone but myself). Worth every penny if you are down for the challenge.
K**R
Great hardware and most thorough instructions available
I'm going to try and make this short as possible. I initially planned on buying a Murphy bed but due to us already having a 12 inch deep mattress, we were going to have to spend around $1000. The basic Murphy beds are designed for 8-10 inch deep mattresses. So we decided to build our own because my husband said he could not see spending that type of money for a bed that was not even wood. I researched and chose this one due to the reviews and because not only does it come with the hardware, but it comes with 3 instructional books, one of which lists all the cuts and their dimensions. However, this is NOT an easy DIY. You need to know and understand wood working and be very well versed with measurements because being even 1/8 of an inch off can cause problems. We chose the vertical design so that there would be more space in the room which is going to be my sewing/craft studio and guest room when need be. My husband works full time and could only work on the bed after work and on weekends and due to sanding, painting and drying times (which must be done prior to assembly) it took us over a week to complete from start to finish. We are very pleased with the results. The bed looks really good and it's strong and sturdy. It frees up a lot of space so that I can have my sewing table and cutting table in the room now. The bed is easy for me to pull up and down due to the really good pistons that are a part of the hardware kit. I definitely think it is worth the money not just for the hardware but for the design and instructions as well because years ago when we considered building our own there was only hardware and we would have had to design it ourselves. Also another great benefit is the videos that this company has put together that cover every aspect of assembling and putting this bed together. My husband said those videos were a great accompaniment to the instructions especially if you need to double check or clarify something. My husband also says to buy as much of the precut wood as possible and have the plywood for the base and front cut at the location purchased if that is an option. The videos are available on YouTube and online.
E**D
A great purchase
Amazing bed and a great buy. The bed functions very well-it is compact but still allows you to use a real 12” mattress. The support is excellent. Nadia in Canada is truly there for you 😊 The instructions are great-follow them in the exact order! It will become clear later why. Take your time; it may take 1–2 weeks if you are an amateur like me. Staining is a great option-that’s what I did—but it takes more time. The cost is very reasonable. Good luck!
M**T
2 vertical twin beds with custom night stand
Murphey bed was a fun project but pretty labor intensive. Lots of time spent gluing edge banding to cut plywood pieces and sanding. Not necessarily the cheapest build by the time you account for plywood,hardware, paint, and other miscellaneous items needed to assemble. Instructions were pretty detailed and easy to follow. Videos helped fill in any gaps. I built 2 twin vertical beds with a custom built shelf/night stand in between the beds. Trim on the face and top of the bed frames is not part of the kits but adds a lot of detail to the builds. Also incorporated recessed lights into the beds with built in dimmer switches on the nightstand. Overall happy with the build.
C**S
Worth every penny! Very sturdy!
We used this for a full size murphy bed! Came with instructions. No issues putting in. My boys are 6'6 and 6'8 so we needed something that would support them when they come to visit. I have slept on it several times and I'm 6'1 and 220 pounds and it feels solid. We did make to small wooden pieces to put at the end of the bed due to my boys sizes and it seems to help. Instructions were easy to follow and no issues putting in. Holds av10 inch mattress with matress pad with no issues! Would buy again 5 stars. Assembly went well with no issues! Delivered fast, came with everything that was stated in description. Would purchase again and worthbthe money!
M**S
Sets the Standard for what a DIY kit should be. Well Done!!!
The kit is very well made, very well organized, and has a wonderful set of directions. I couldn't believe they sent 3 high quality manuals to show everything from a complete materials list, cut list, assembly instructions and for multiple materials. These are the types of companies that set the standard for what this type of purchase should be like. I am only half-way through my build, but I will try and give an update with pictures after I am all done.
J**E
Research, research.
because we bought from Amazon and not from the company itself they will not allow you to access their company's video tutorials which is unfortunate. Good product but lacks company support for people trying to access affordable product. Pity
G**Y
Great product
Made the bed, instructions very clear just needed to double check my measurements. Everything fit perfectly and the springs work just as they should. My wife who is 70 can operate bed up and down easily. The only thing I had concerns about wax the 1 1/2 cross members for supporting the mattress and people in bed so I glued and screwed a 1 1/2 aluminum angle iron to them keeping in mind the total weight. This is a great product
T**R
DIY Murphy Bed Pistons
Pistons worked well for 2 years but now they are getting weak and the bed is heavier to lift. I love the product and the instructions were very easy to follow as I built the bed. Hoping they will send out new pistons asap :) Would definetly buy it again but a little disappointed with the pistons.
B**S
Not entirely “easy”
I returned the horizontal double to Amazon when I saw it wouldn’t work in my space. Then bought the vertical double directly from the company ($20 less and faster delivery). The finished project is great, fulfilling all expectations. There are a few places—not serious—where I goofed up. The making was harder than expected. I found it difficult to predict which aspects required the utmost care in relation to others. E.g., the position and squareness of the bed frame on the panels is crucial. The installation of the pistons was much easier than the instructions made it seem. Getting the plywood cut at Home Depot imposed a restriction of 9” on any width, which meant using my home table saw a lot. Most of the crosscuts were not accurate within 3/16” and that made a difference in assembly. There was a lot of leftover plywood. Cutting the twelve 1-1/2” bed supports from plywood instead of buying pine will save you $80. Another time I’d use 1/4” fir plywood under the mattress where the more expensive hardwood veneer plywood isn’t needed. There are several places where the video provides useful assistance not in the manuals such as using a hand screwdriver instead of electric drill. (I cross threaded two nuts). I’d suggest using something like a one-coat polyurethane on pieces before assembly for the sake of convenience. And handles that are fastened from outside with screws (see pic) are preferable as they can be put on at the last. In my town Lee Valley has the recommended self drilling screws; Home Depot does not. Finally, I am in my eighties and worked entirely without a helper. Do a lot of assembly at the site of installation so you don’t make the unit too heavy to move. P.S. I wonder why they don’t make the upper back panel of one piece with the back of the topper instead of two separate pieces. They abut anyway.
M**S
Clear, well structured and sturdy
Very happy with the kit and the impeccable instructions. Easy guide for the plywood cuts at the Home Depot (just double check the cutting guy, mine made some mistakes) Without rushing, it took me a couple weeks in my spare time. Furthermore, pricewise, the end result (kit and wood) came out to about 1.3-1.4k: you wont find a Murphy bed from nice birchwood for that price. 2 advices: 1. read the all the instructions before proceeding. 2. Dont varnish before using wood glue.. yes.. i know, a rookie mistake.
Trustpilot
4 days ago
3 weeks ago